°'^'°'^'°'^'° FUN weaves 3 - weave for fun°'^'°'^'°'^'°

Fun WEAVES - this is weaving ?? !!
Try it!!

flying shuttle
Plastic drinking cups ? Have you ever ...
Well, now you will !
Have fun.


THIRD IDEA ........

You need:
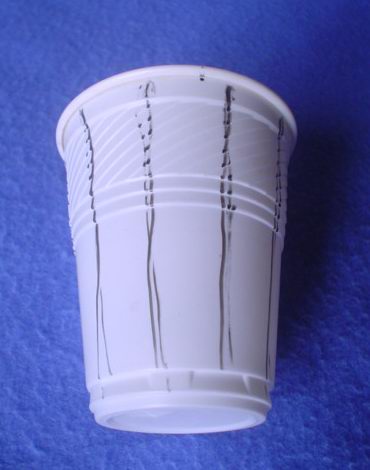
-*-*- a plastic drinking cup, those soft ones are better than the stiff ones
-*-*- lots of odd bits of colourful wool to chose from
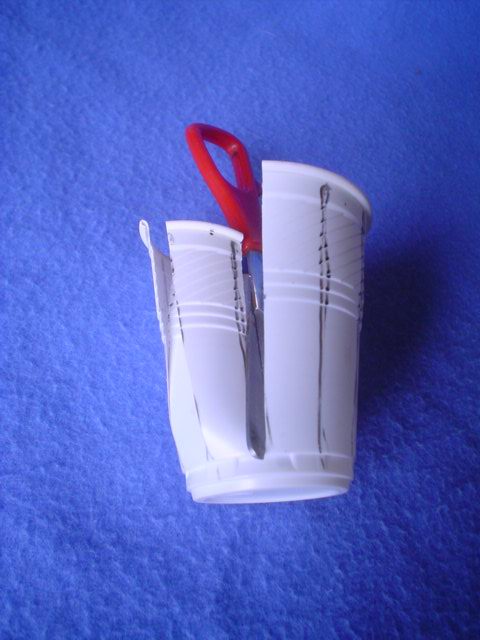
-*-*- old(!) scissors to cut the plastic, glue that will stick to the plastic; you also need a measuringtape and a pen, a needle. Some very fine sand paper(glass/emery paper) or an old nailfile with extra-fine surface could be useful depending on the material of the cup.

Small glass jars are useful, we all collect them and use them to hold flowers, pencils, pins etc. But they are not always pretty, and not everybody can paint them or glue serviettes on them. So let's make a woven sleeve for them!
Take a clean paper or plastic drinking cup large enough to take the glass jar.

 
Start by measuring around the top edge of the cup. This length you divide into an uneven number. I make a pen mark every cm on the rim.
Draw a straight line from each of the marks at the top to the base. Stop them close to the base.
Note that the lines are closer together at the base than at the top!
weave on a plasic cup
 
Make 11 cuts from top down. If the edges of plastic are too sharp, just sand them a little bit. These 'bands' are your warp.
 
Put the beginning of your weft inside the cup, and start weaving: in and out between the plastic 'warp' of your cup. Careful, the cup is quite delicate! Do not pull the weft too tight, this will keep the cup in a good shape. You can change colours like you learned doing on the stick loom.
 
this is the normal weave

and here I have pushed the rows tight together to 'hide' the colour of the 'warp'.
 
When you are at the top of the cup, cut the weft and glue the end inside the cup to the nearest weft.
The cup I am showing here will be hung up, so it needs a hanging loop. "Sew" a short length of yarn to a few rows of the weft inside the cup, by passing it between the plastic 'warp' and the weft that covers it. Make a knot and tug at the yarn so that the knot slides downwards for a neat look.
 
To finish the top and to hide the rim of the cup, glue rows of the yarn around the top edge. The photo shows that the yarn covers the last row of weaving.
 
nice cup ..... but there is still the base showing!
cup with woven coat
Did you notice that I twisted
the threads of yarn
before I glued them onto the rim?

It keeps the single threads together
because the rim will be touched often,
the yarn must not slip off and show the cut edges of the plastic.
As a bonus it gives this very nice look of a 'basket' to the work.

 
You can paint the base with craft paint

or glue more yarn around it

 
Choose another fun-weave?

Back to the weaver's shed?